
Installing drainage in paving
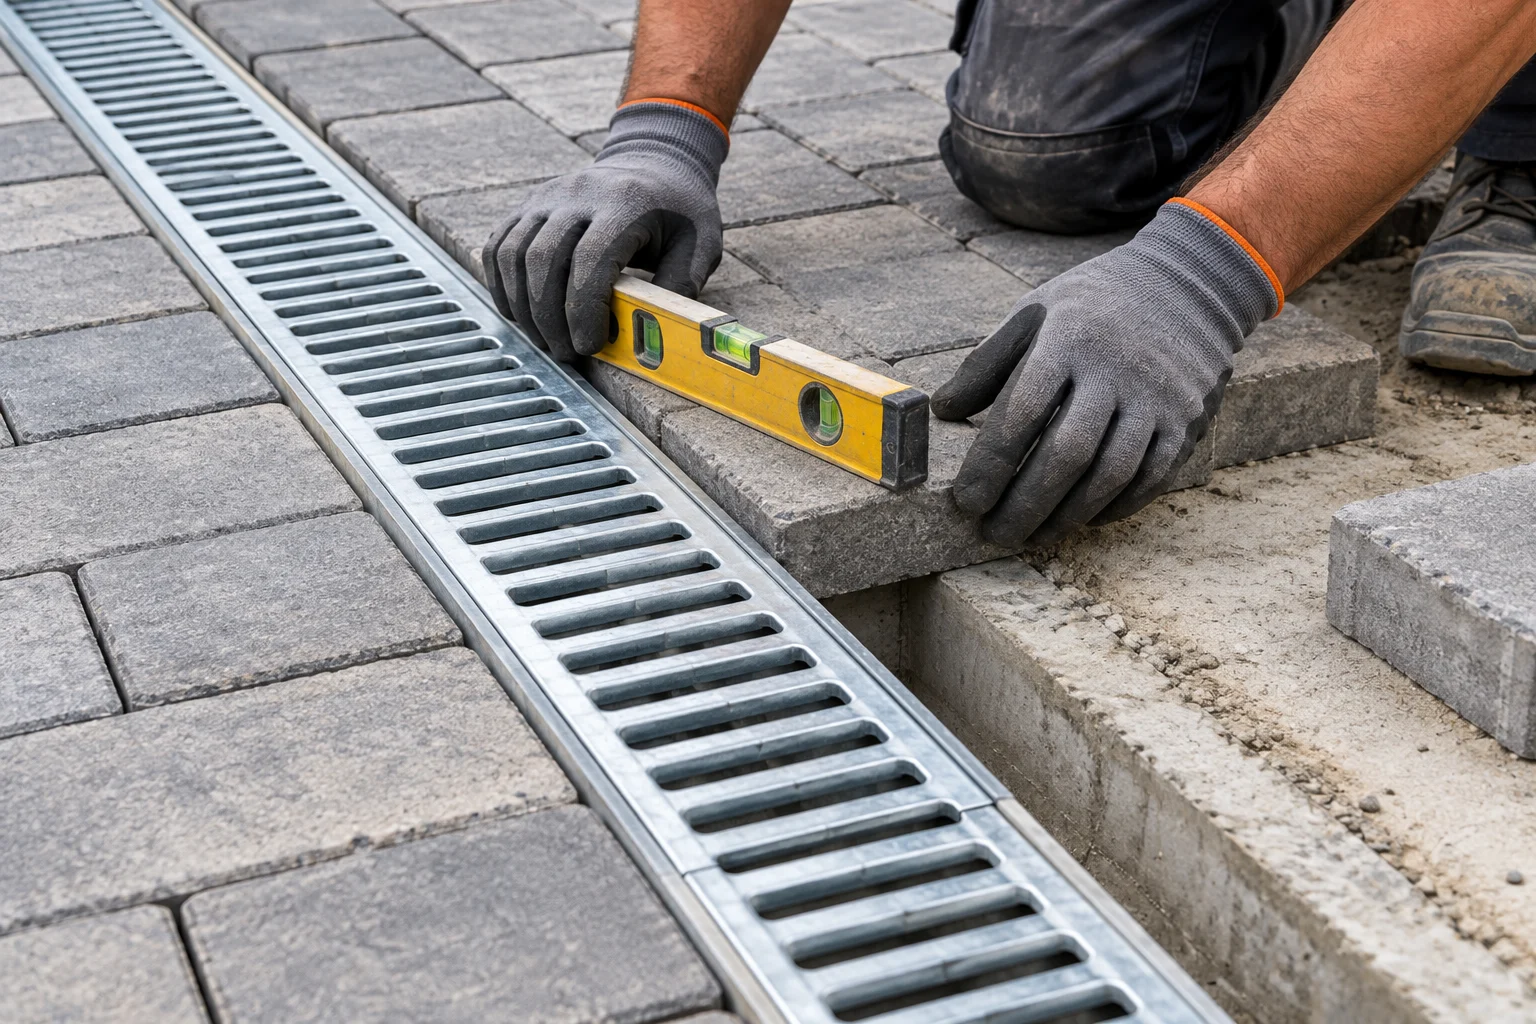
Plan the outlet, channel support and grating level before laying the paving.
At a glance
The channel needs stable support, the specified surround and a clear connection to the water receiver. Paving stones do not replace lateral channel support. Concrete dimensions and class depend on the system, loads and project.
Outlet and levels first
Set out the drainage line, finished paving level and outlet connection. Separate the surface gradient towards the grating from any gradient along the channel. Not every channel has a built-in bottom gradient.
Installation sequence
- Prepare the excavation and stable substrate, allowing space for the specified base and lateral surround.
- Set the channel and outlet to the planned levels and connect the drainage.
- Install the grating or temporary bracing as instructed to maintain channel geometry.
- Construct the specified support and complete the adjoining paving and joints.
- Check the flow and clean the channel before use.
Do not copy surround dimensions or concrete requirements from another product. Follow the selected system documentation and project.
Compare products
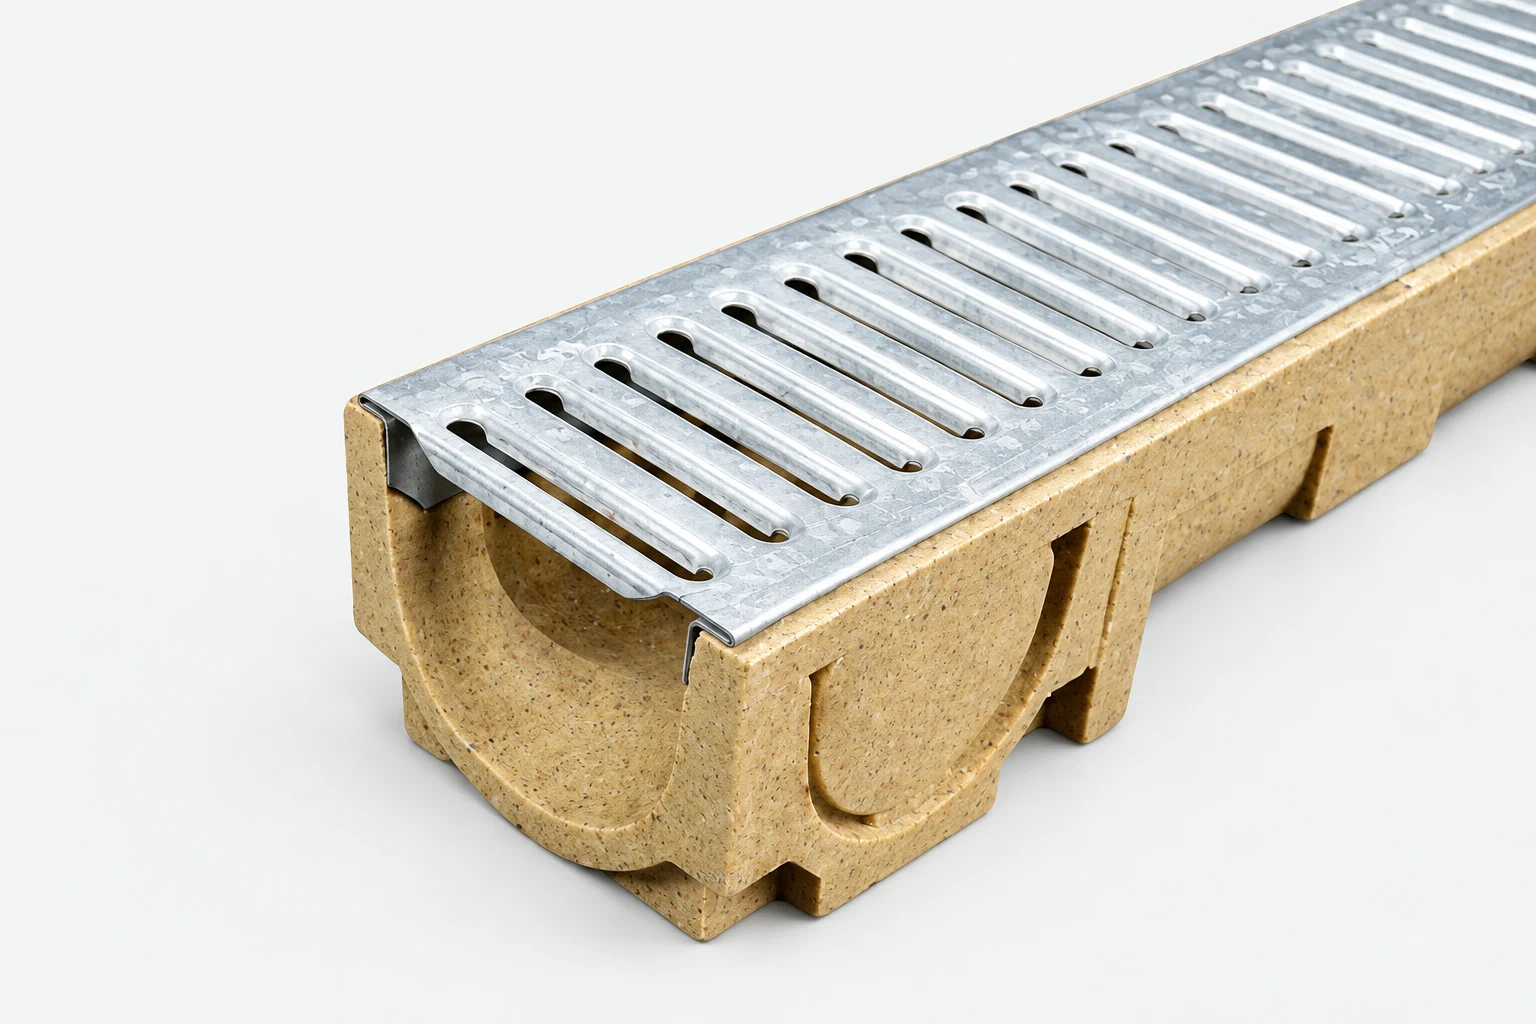
Polymer concrete drainage
Standard polymer concrete drainage channels. Compare load classes A15–D400, channel dimensions and grating options.
Compare variants: Polymer concrete drainage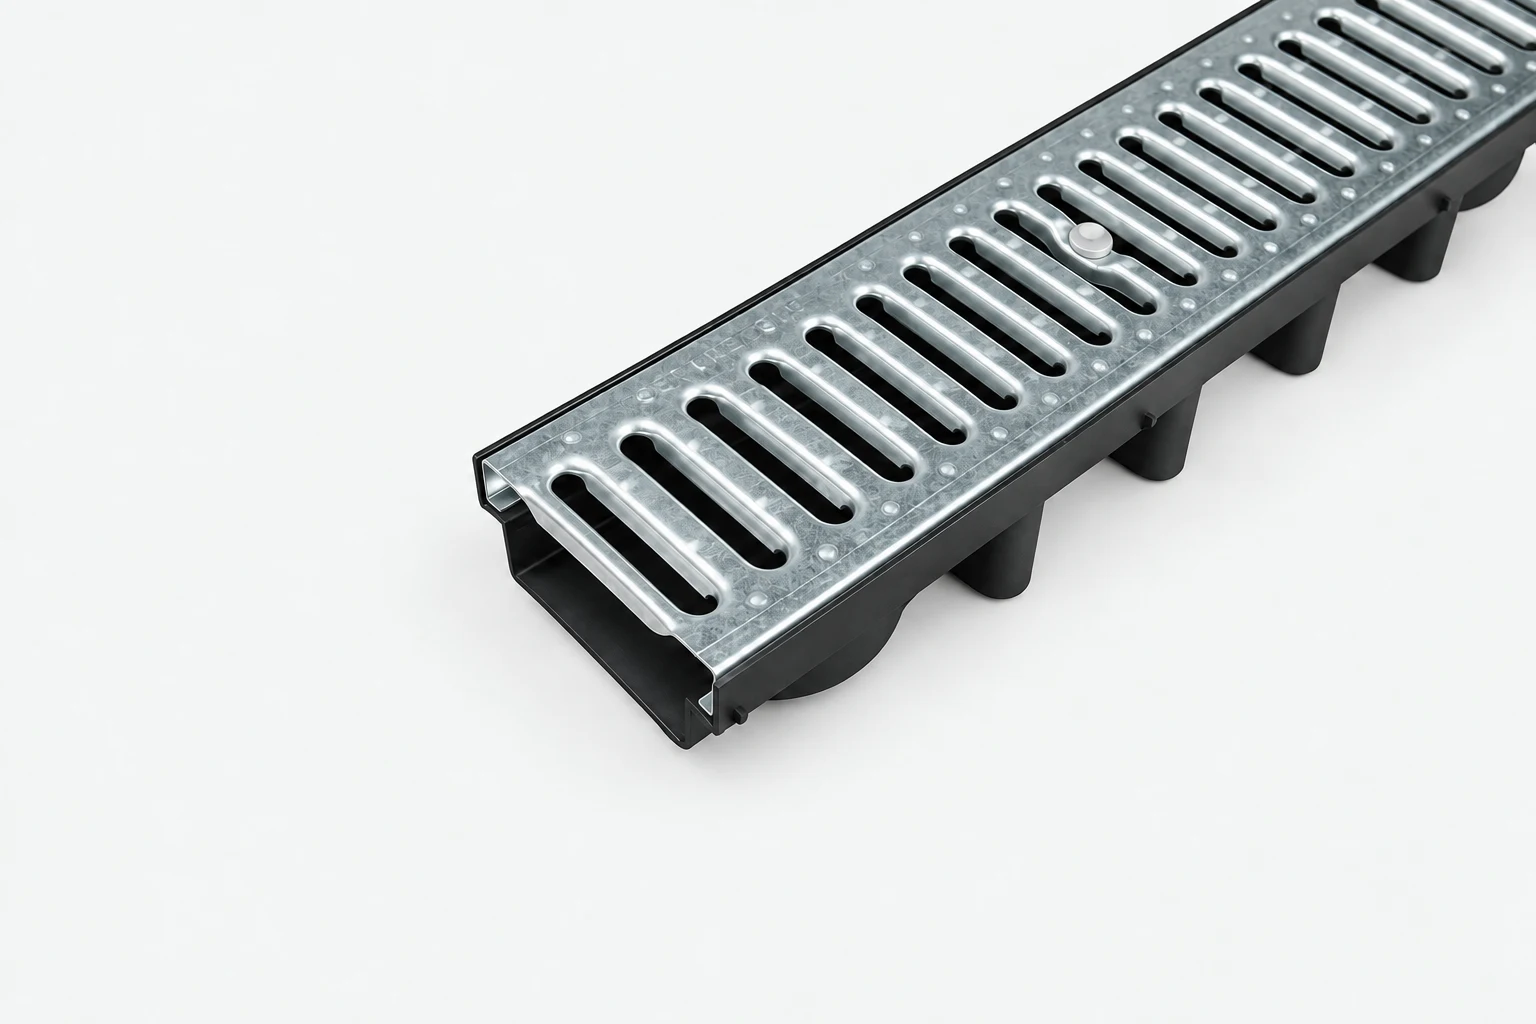
Plastic drainage channels
Plastic drainage channels with different gratings and heights. Compare variants and include the catalogue number in your enquiry.
Compare variants: Plastic drainage channels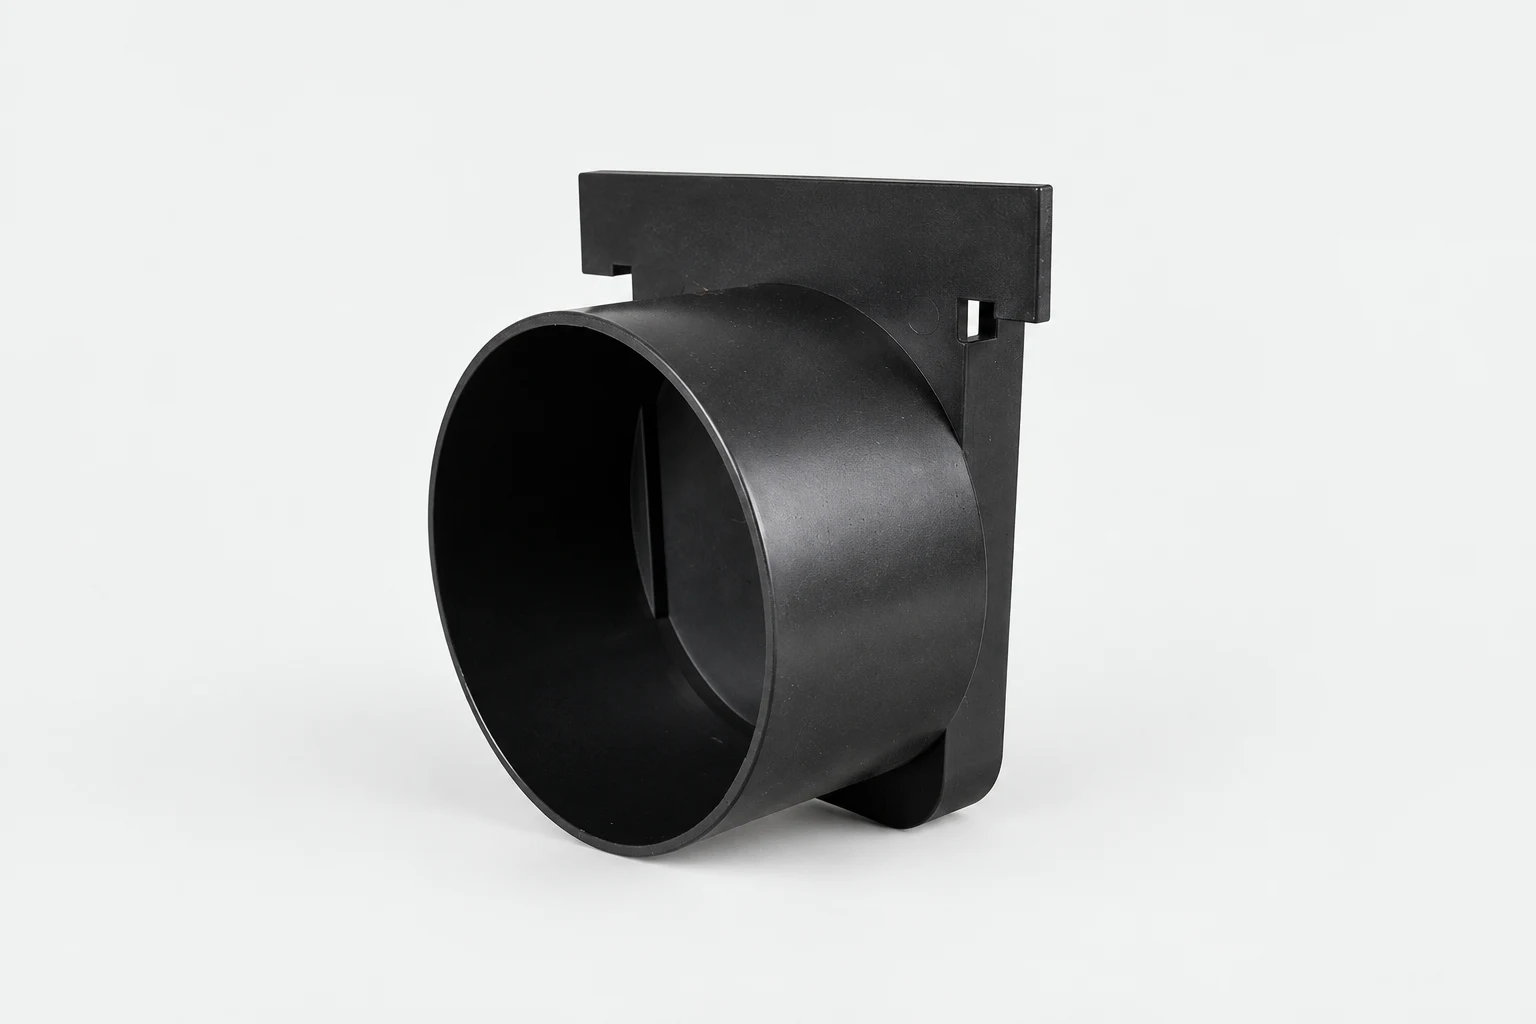
Drainage accessories
End caps, outlet components and drainage accessories. Check compatibility with your channel and selected variant.
Compare variants: Drainage accessories